Hello. My name is Maeda from the Stroly development team.
The other day, my smartphone, Apple iPhone 12 pro, broke. When I woke up in the morning, the screen wasn’t showing, it was completely black, and I couldn’t charge it.
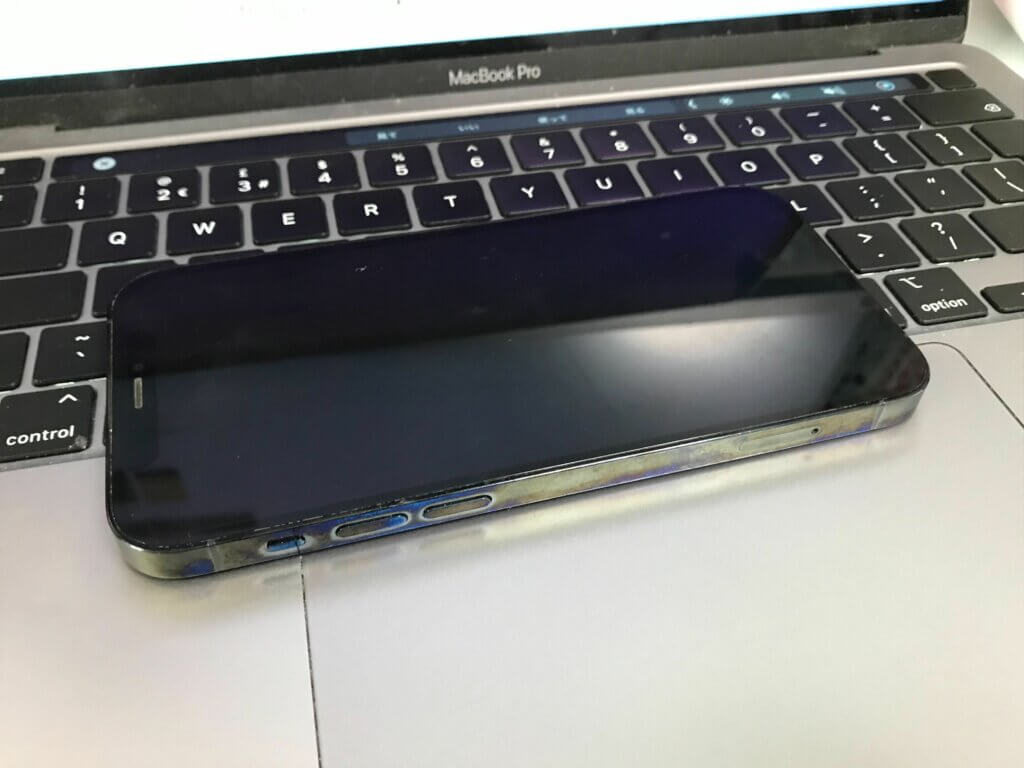
The bricked iPhone 12 pro
No matter what I did, I took it to a repair shop, and they told me that there was no electricity and the board was completely broken. If this happens, the repair cost will be high, and repair is not recommended. Just to be sure, I got an estimate from another repair shop and was told that the repair period would be one month and the repair cost would be 60,000 yen. Moreover, although the data will be restored to the point where it can be restored, it will not be able to be used normally after that.
So, I decided to give up on repairing it and wait for the iPhone 15, which should be released this fall, and started living without a smartphone (to be more precise, I inserted a SIM card into my old iPhone 7). I’m using it).
My lifestyle doesn’t have much of a problem without a smartphone, but the biggest problem is that I can’t use the camera. I’m planning to go on a trip in September, but since I’ll be bringing a single-lens reflex camera with me, I’m already worried that my luggage will be heavy.
I’m already looking forward to Apple’s new release event on September 12th. I’m curious to see what the price will be as the yen is depreciating at this time, but I plan to buy it as soon as reservations start. I would like to use it for the development of Stroly.
Now, I would like to introduce the contents of today’s release.
Introduced a new way to publish Stroly maps
There are three ways to publish maps, and detailed explanations for each are provided below.
- Steps to publish an original map without an illustrated map
- Steps to add and publish an illustration map to a map without an illustration map
- How to publish an illustrated map
Steps to publish an original map without an illustrated map
1. Click “Add New Map” from “Add Map” on My Page

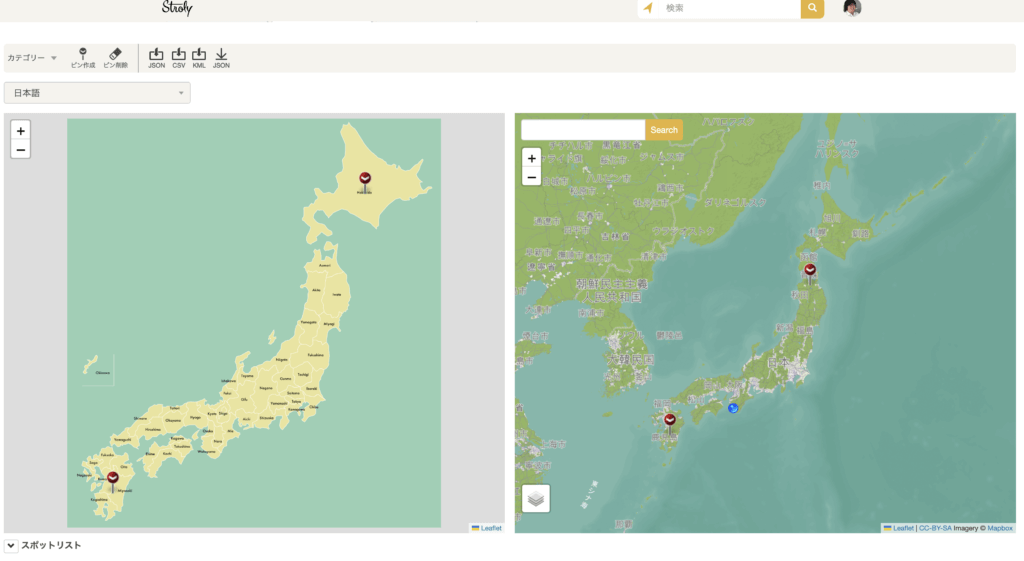
2. Once the map editor opens, place a spot where you want to place it on the map.
For the screen description of the spot tab, please refer to “What is the setting screen for ‘spot’? “.
3. Enter spot information
For input items and modes, please check “Register a spot“.

4. Set up two or more spots

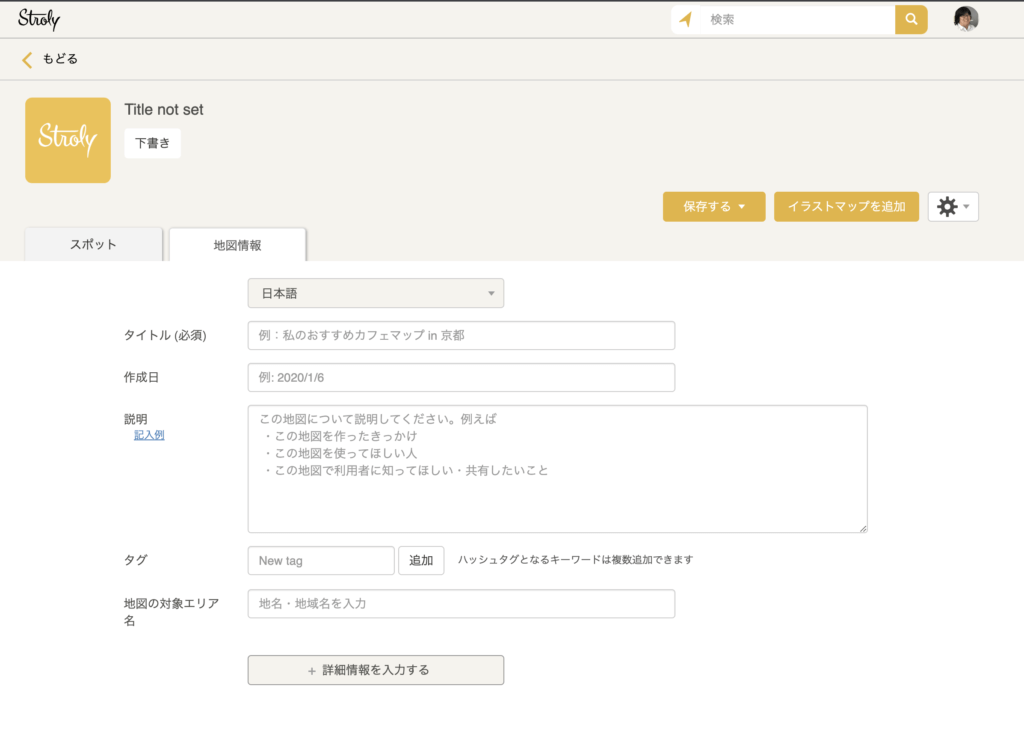
5. Open the map information tab and enter the map information (title, etc.)
For information on what to enter in each item, see “What is the ‘map information’ screen?“.
6. Click “Save” and then “Public” or “Private”

Now you can publish your original map without illustration map.
Steps to add and publish an illustration map to a map without an illustration map
1. Press the “Add illustration map” button

2. Select the illustration map image you want to upload

3. Press upload
The upload button will be available when you select an image on the illustration map.

4. Please read the instructions displayed on the screen.

5. Align
Regarding each function on the screen, see “What screen is used to set alignment?“.

6. After aligning at least 3 points, open the Spot tab

If alignment is not performed, the spot tab cannot be opened.

7. Adjust the position of each spot installed on the illustration map
When you open the spot tab, the spot positions on the illustration map will be rearranged according to the positioning situation. Please adjust the spot position according to the illustration map.
8. Click “Save” and then “Public” or “Private”

You can add an illustration map to a map without an illustration map and publish it.
How to publish an illustrated map
1. Click “Add New Map” from “Add Map” on My Page

2. Press the “Add illustrated map” button

3. Select the image of the illustrated map you want to upload


The upload button will be available when you select an image on the illustration map.
4. Please read the instructions displayed on the screen.

5. Align
Regarding each function on the screen, see “What screen is used to set alignment?“.

6. After aligning at least 3 points, open the Spot tab
If alignment is not performed, the spot tab cannot be opened.

7. Set up a spot where you want to post
Regarding each function on the screen, see “What screen is used to set alignment?“.


8. Enter spot information
For input items and modes, please check “Register a spot“.

9. From “Save”, click “Public” or “Public”

If you do not need to post spot information, please skip steps 6 to 8.
Stroly Viewer v14.7.0 update contents
Spot pins are now animated when the map is opened
Until now, the pin was displayed at the same time as the map was displayed, so it was difficult to notice that the pin was assimilated with the map, and it was difficult to recognize that it could be pressed.
Therefore, by shifting the display timing and animating the pins, although they are part of the map, I think they are now recognized as separate elements that can be clicked.
By all means, I would be happy if you could click on the pin on the map and learn about the charm of the area!
In addition, as a minor measure, we have changed the user icon menu of the Stroly data report to display only the menus that are highly related to the data report.
At Stroly, we strive to develop new features and improve features every day to provide an exciting user experience. Please continue to look forward to the release.
We are looking forward to hearing from all the staff and users.