You can set the range of the map initially displayed on Viewer.
By adding a parameter to the end of the map’s URL, you can freely set how the map is displayed initially on Viewer.
When you use this feature, you can show any desired location from the start, such as zooming in or out on the center of the map or zooming in on a location you particularly want to focus on.
There are two ways to do this.
1.How to initially display the center of the map zoomed in or out on Viewer.
You can set your map to zoom in or out from the center, by adding a parameter to the end of the URL in the following format.
&zoom=XX (“&” is the character that connects the parameters, and the XX part is an integer between 1 and 6)
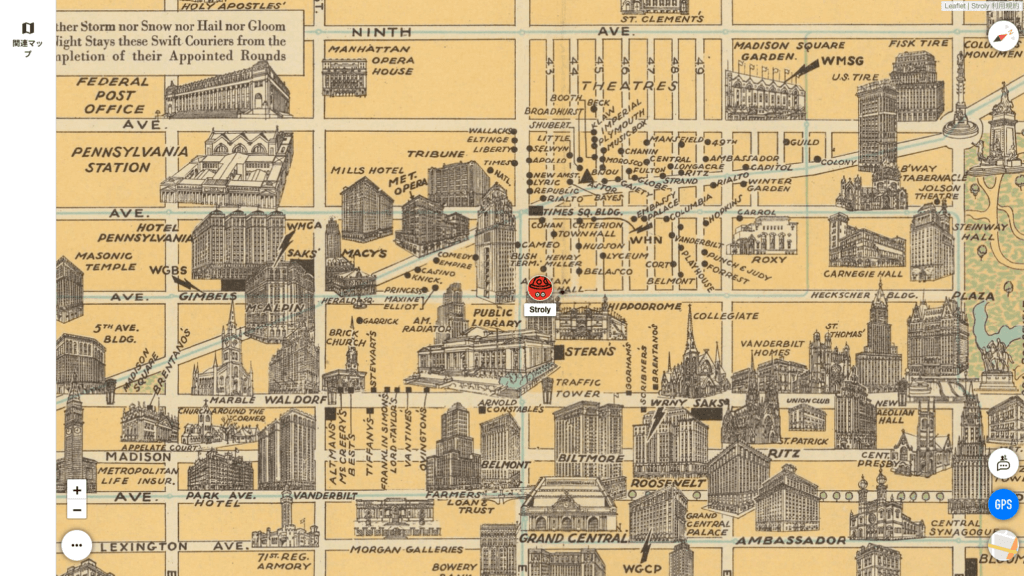
For example, if you want to show the entire map of New York City (https://stroly.com/viewer/1512719519/?room=stroly), reduce the number in the “XX” part. (The smaller the number, the wider the area will be displayed.)
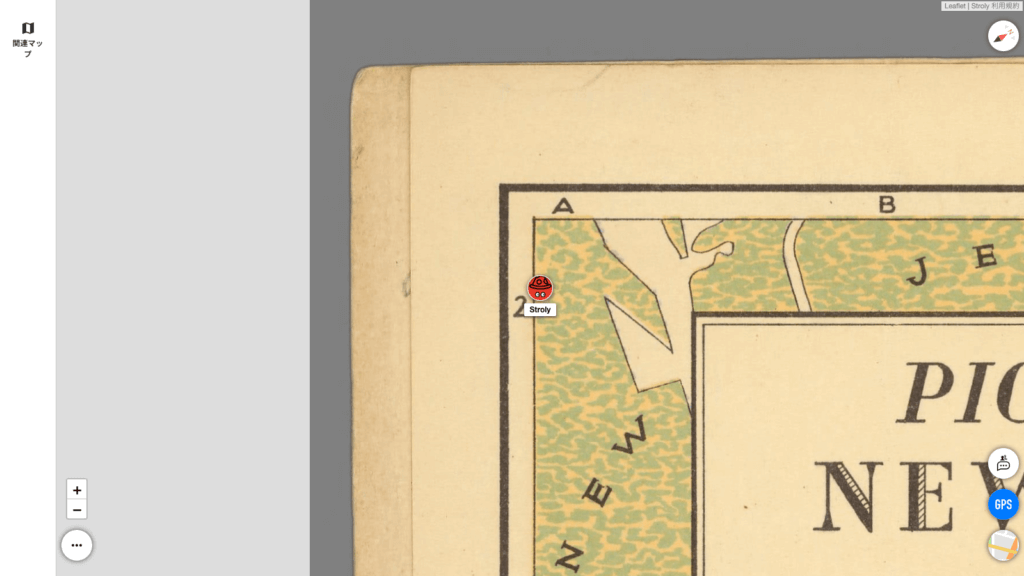
With the following setting (zoom=2), the Viewer will display almost the entire map.
https://stroly.com/viewer/1512719519/?room=stroly&zoom=2

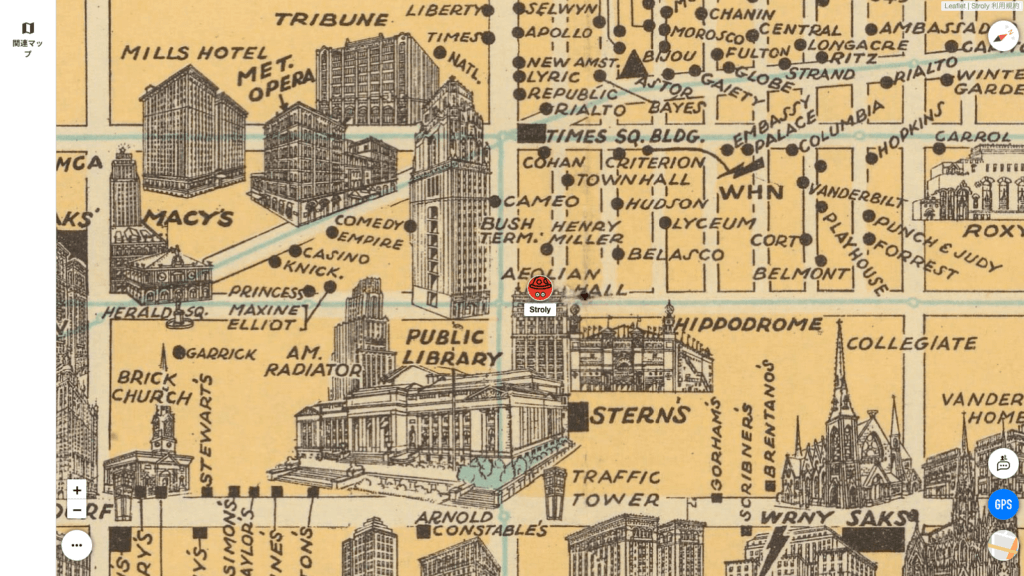
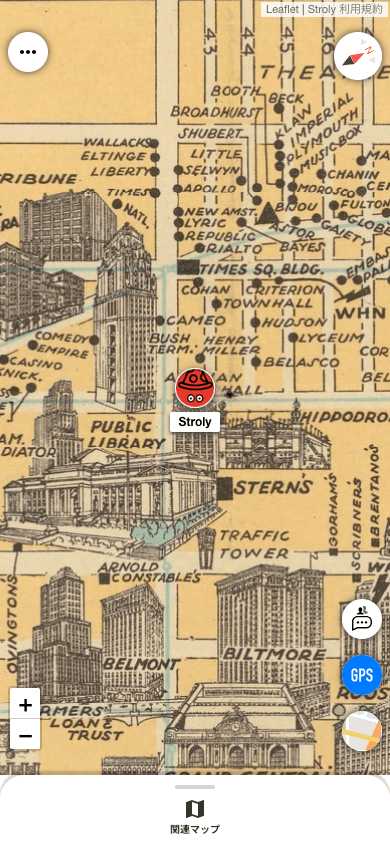
When “zoom=6” is selected, the center of the map will be zoomed in almost to the maximum extent.
https://stroly.com/viewer/1512719519/?room=stroly&zoom=6
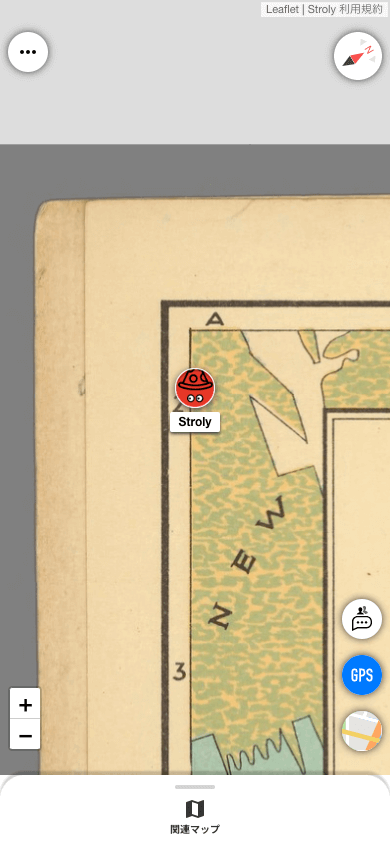
As in the examples above, you can change the size of the area displayed according to the size of the number in the XX part of “zoom=XX”.
With this feature, you can only enlarge the center of the map. (You cannot zoom in on the periphery of the map.) It also depends on the map how much range will be displayed.
The following method is recommended if you want to zoom in on any other part of the map.
2.How to initially display any part of the map zoomed in or out on Viewer.
This option allows you to display a specific range of the map on Viewer. You can specify the area you want to display using the XY coordinates on the map image (see below).
&xybounds=x1,y1,x2,y2 (x1,y1,x2,y2 are the coordinates of the left, top, right, and bottom boundaries, respectively).
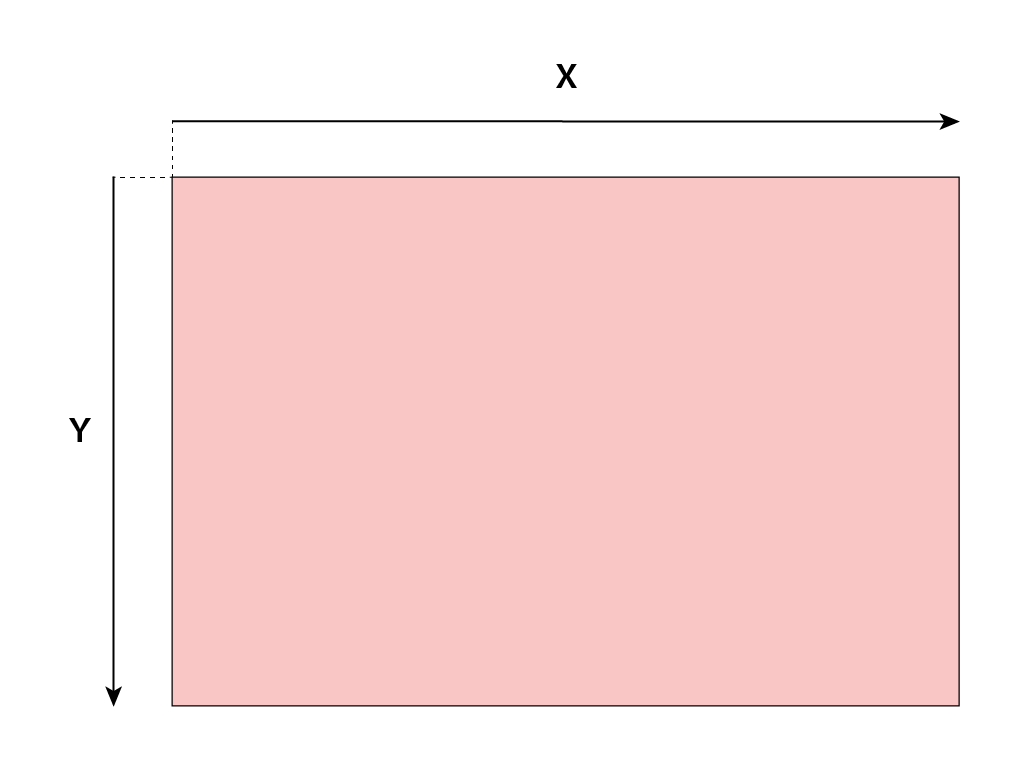
The XY coordinates on the map image are set with the upper left corner as the origin so that the x-coordinate increases from left to right and the y-coordinate increases from top to bottom, and the numbers correspond to the map dimensions (px).
For example, with an image size of 2000px in height and 3000px in width, the top left corner would be x=0, y=0, the top right corner would be x=3000, y=0, the bottom left corner would be x=0, y=2000, and the bottom right corner would be x=3000, y=2000.
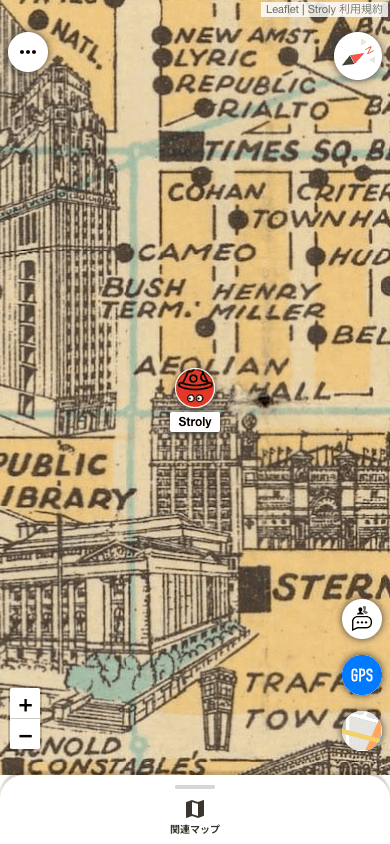
By setting the display range using the coordinates, you can specify any range of the map to display initially. For example, you can set the range of the map like the following.
https://stroly.com/viewer/1512719519/?room=stroly&xybounds=0,0,800,1000
The range of coordinates that you can specify conforms to the size of the original map image file. You need to know the number of px in your map image file.
If you need to zoom in to a finer range, the uploaded map image has to be larger. In general, on Stroly, the relationship between map image size and zoom level is as follows.
- Zoom level 1 (1-step zoom): 512px or more on the long side
- Zoom level 2 (2-step zoom): 1,024px or more on the long side
- Zoom level 3 (3-step zoom): 2,048 px or more on the long side
- Zoom level 4 (maximum zoom): 4,096px or more on the long side
You can also combine these methods.
https://stroly.com/viewer/1512719519/?room=stroly&zoom=5&xybounds=0,0,800,1000

Try adjusting the map range to display your map on Viewer.